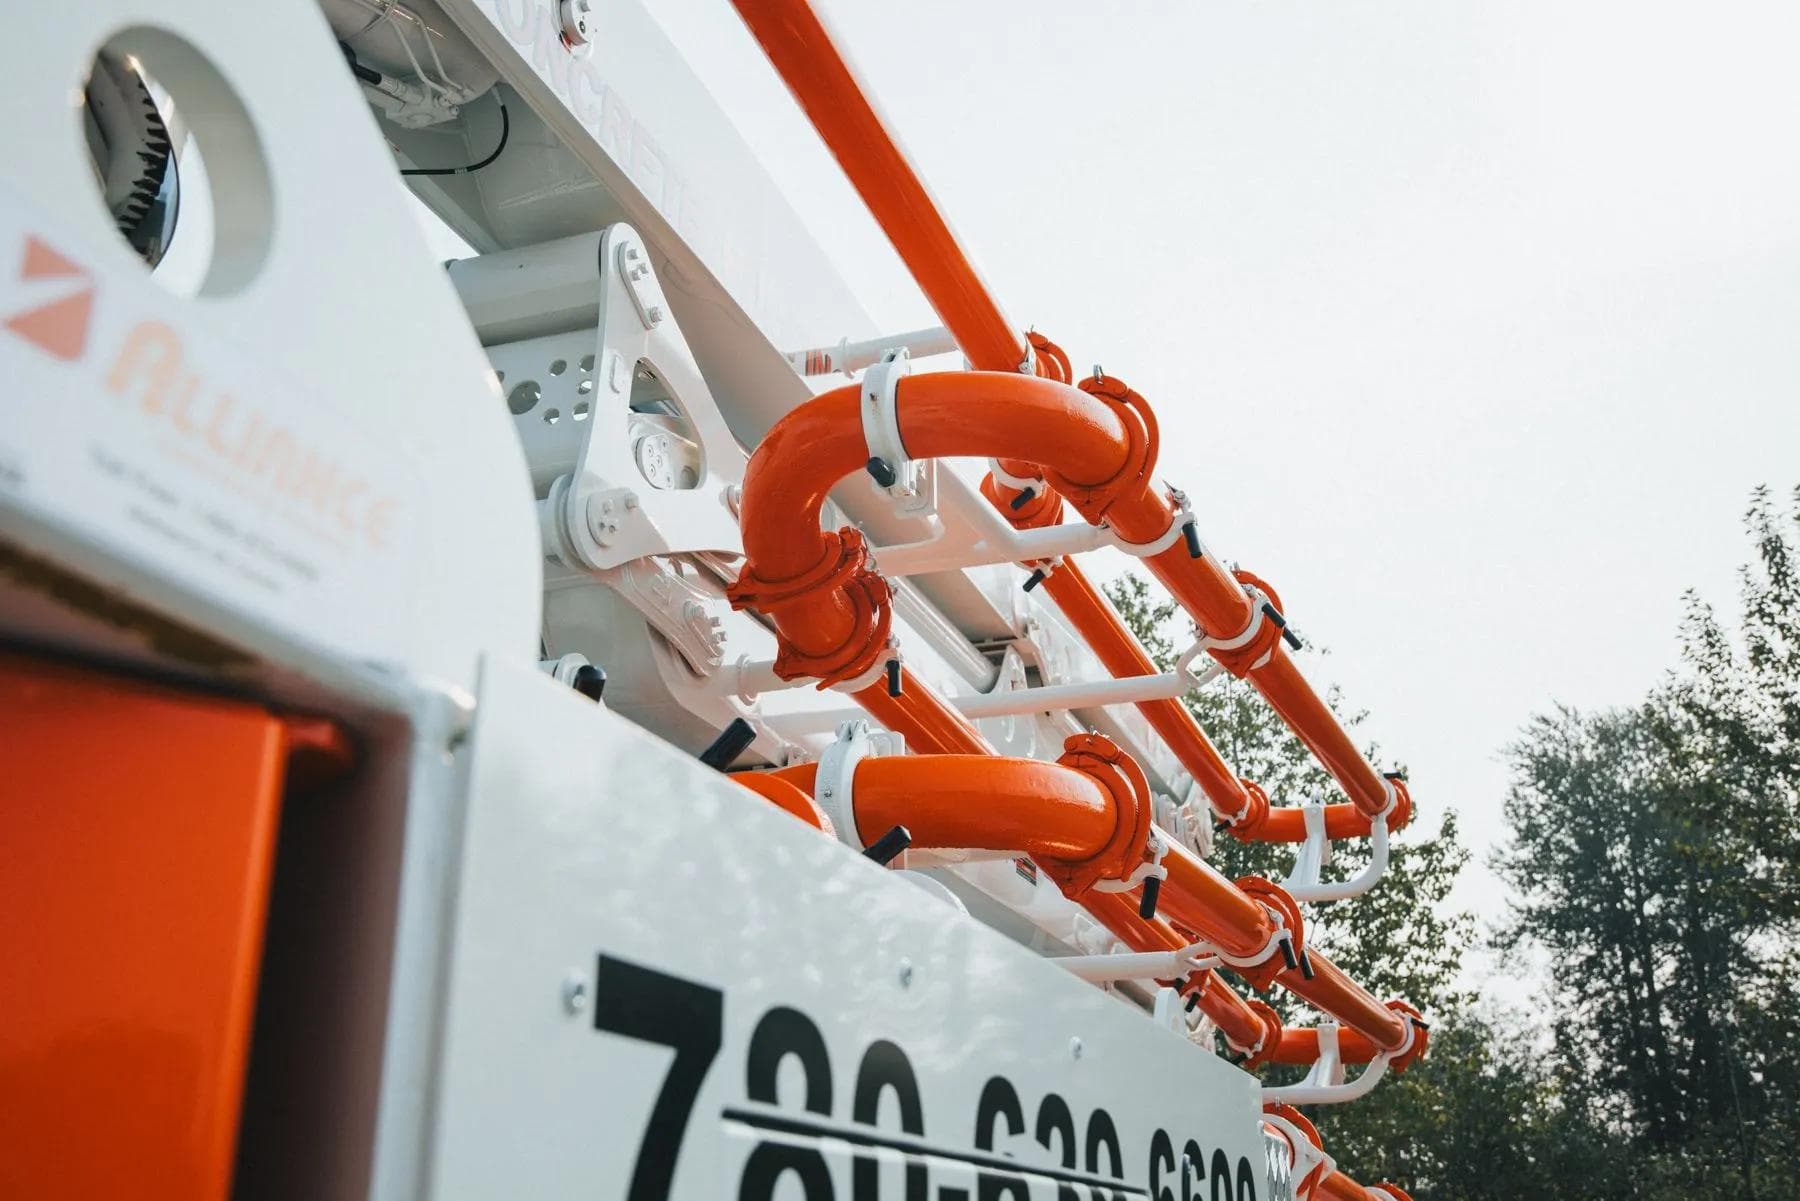
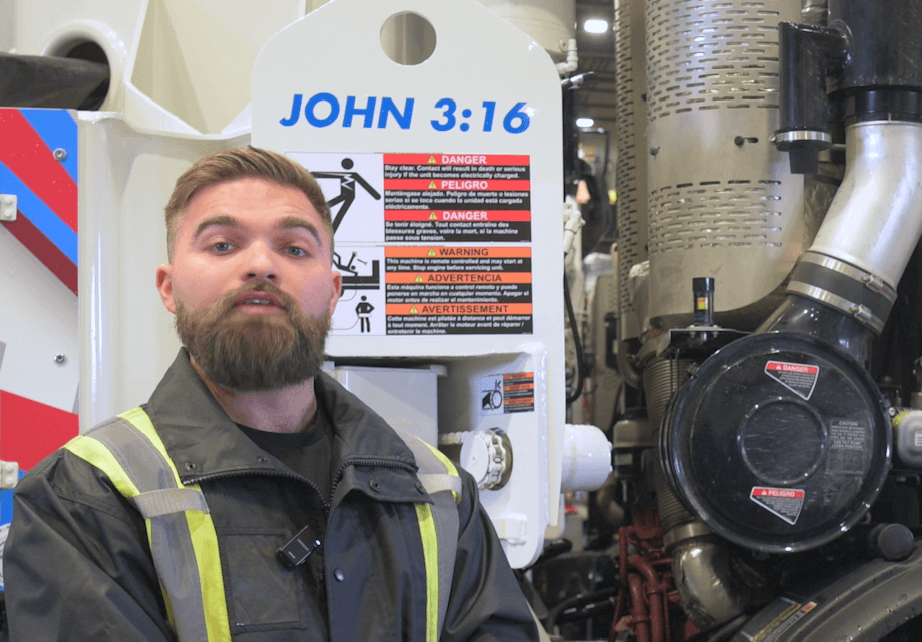
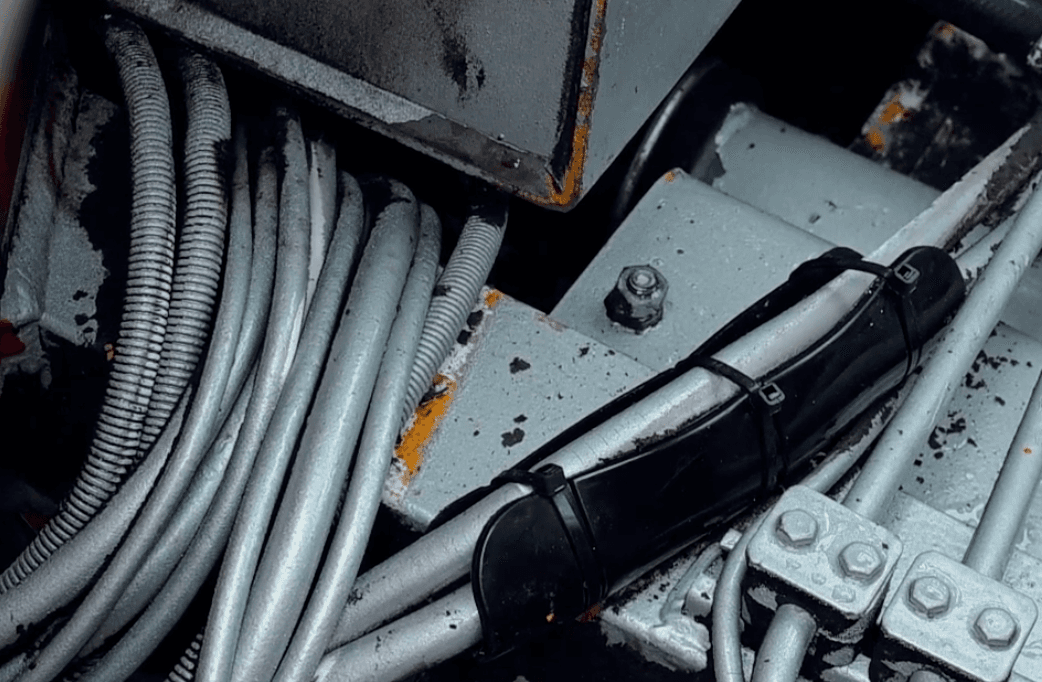
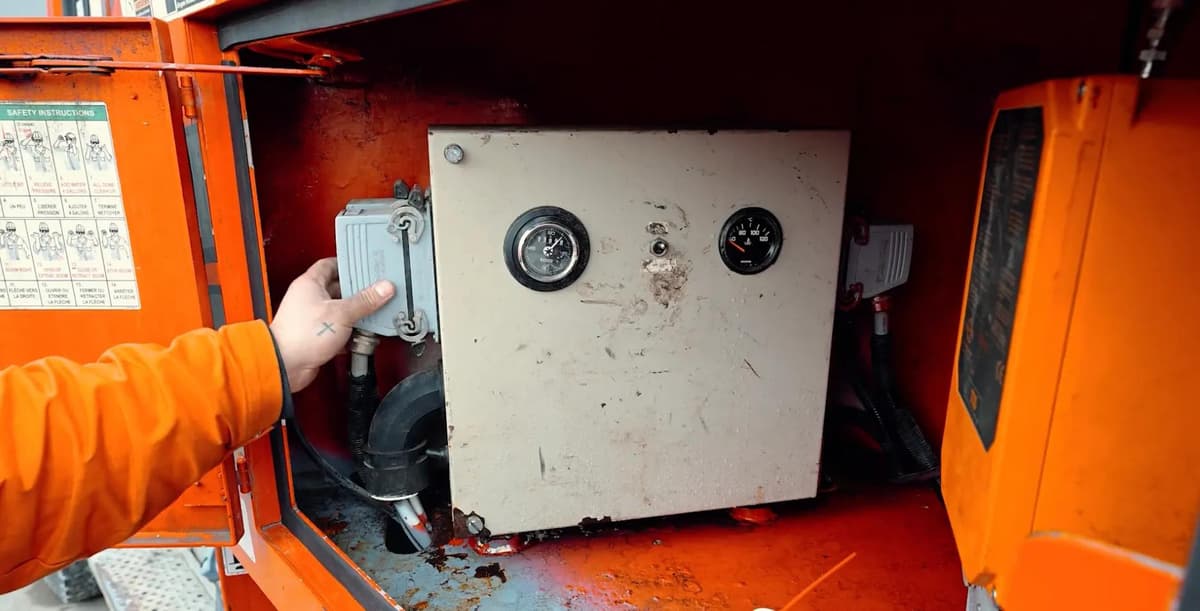
Alliance Concrete Pumps are known for their quality and ability to reliably keep your business pumping.
#allianceconcretepumps
Insulate your Booms
It is important to insulate the booms on your concrete pump with a material that does not absorb water, like neoprene. Wrapping your boom with saran wrap before you insulate it will help maintain the integrity of the paint job on your boom as well. If cost is a factor, you can get away with only insulating the last 2 sections of the boom. This is because a pipe full of concrete will not freeze as fast as an empty pipe. That frozen layer of concrete will peel off when you start pumping again and create a frozen slug of concrete that will plug in your elbows.
Keep an eye out for the temperature of your concrete and the atmospheric temperature. Depending on how busy a redi mix company is, the temperature of their concrete can change drastically throughout the day. You can also ask your local concrete yard if they will heat your concrete before it is sent out to the job site.
Also remember that hydraulic oil can be as thick as molasses on cold days. Give yourself lots of time so you can warm up your oil on site. Too much engine speed can cavitate pumps or blow lines. You will be certain to find the weak link in your system if you show up and throw the pump into gear simply because you are running late.
Keep brake line anti-freeze and fuel conditioner in your concrete pump at all times. It is good to keep your sponge balls in anti-freeze in the winter as well. It is not uncommon to see a concrete pump return to the yard because a ball is frozen within the boom. And don't panic if you are frozen. Frozen concrete has to thaw out before it sets and you can still save the boom system.
Click here for our MONTHLY PARTS SPECIALS to help save some money on necessities for pumping in the coming winter months.
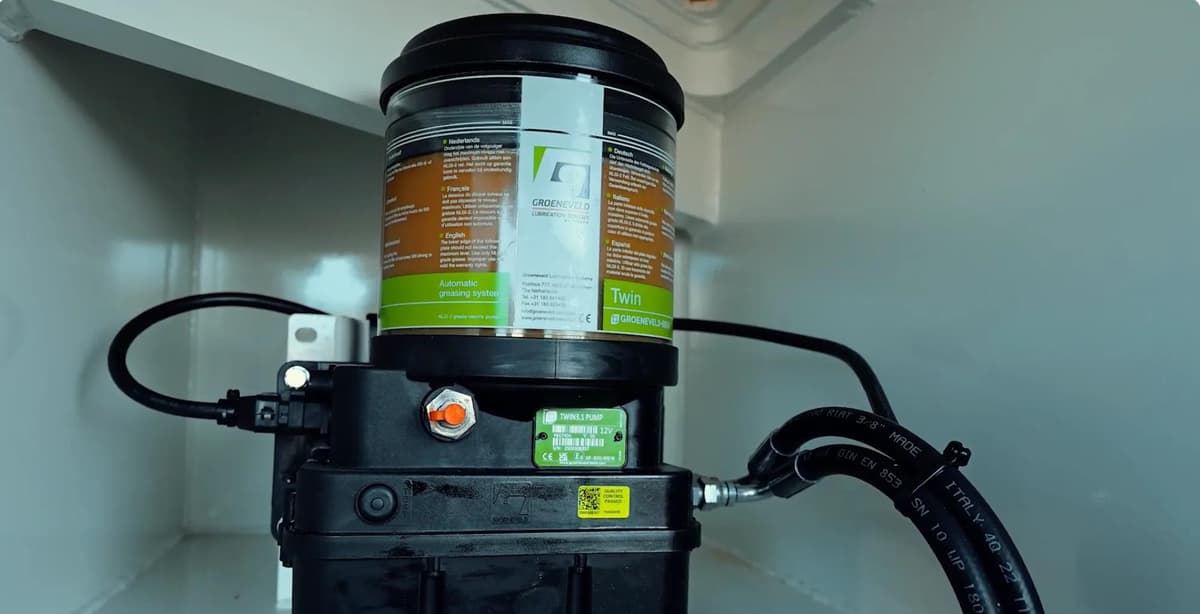
Invest in Automatic Greasers
An automatic greaser is a piece of equipment that saves you time and money in repairs. It takes the guess work out of regular greasing. However, just like the pump itself, the auto greaser is a piece of equipment that can malfunction.
When things go wrong with an Automatic Greaser:
- Check the greaser unit itself to see if the paddle inside the the unit is turning.
- If it is not turning check the timer board to make sure it is powered up.
- Check the "basics check fuse 3F81" in the main power panel (this is also the pumping fuse)
- If the fuse is good, then move back to the greaser unit and remove the plastic plug covering the inspection hole to the circut board.
- Once open, look inside to see 2 turn type dials (left side blue; right side red); 1 red led light on each side of the dials and one push button below the dials. The left side led light indicates power to the circut board.
- If the light is not on, then no power is getting to the greaser.
- Check the outside "din" plug for proper connection and the connections inside the main panel. For a power light to be on, a ground connection is also necessary - so, whille checking wiring for power you should also check for a ground connection. With a simple test light a ground can be tested for by connecting the test light lead to a known power source and then using the probe end to check for grounds.
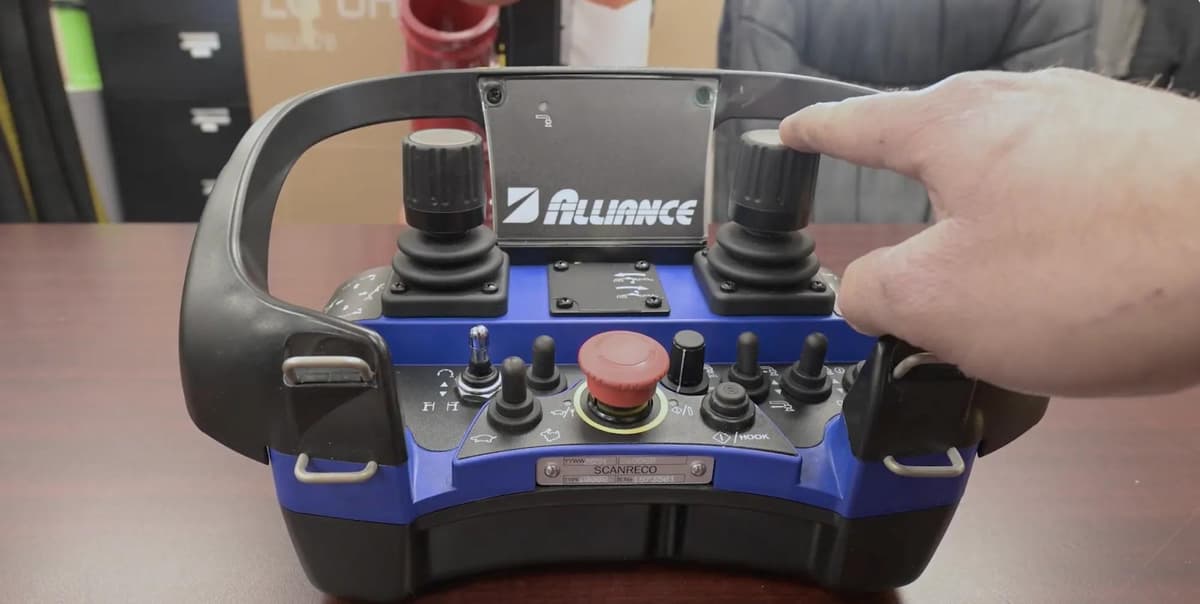
- Once the red led light inside the Lincoln greaser is on, push the manual button directly below the 2 dials.
- If the greaser still does not turn, call one of our technicians for further trouble shooting.
Myth:
In the event your automatic greaser stops working, you are not able to manually grease the unit until the greaser is repaired. This is false. A few simple shots of grease every couple of hours and the life of your hopper wear parts are saved until the auto-greaser can be fixed.
Remember, never take the auto-greaser for granted; always back-up the grease cycles by using the manual grease gun at the end of the day. Using the manual grease gun will help push any concrete cream build up in the ports or sealing ring grooves.
Thanks for visiting. Give us a call or email if you need anything!
Let's Be Safe Out There!
Ok, so, it's later in the year and ocassionally, due to timing issues, we may get talked into doing something we should not. Things like, using your boom as a crane.
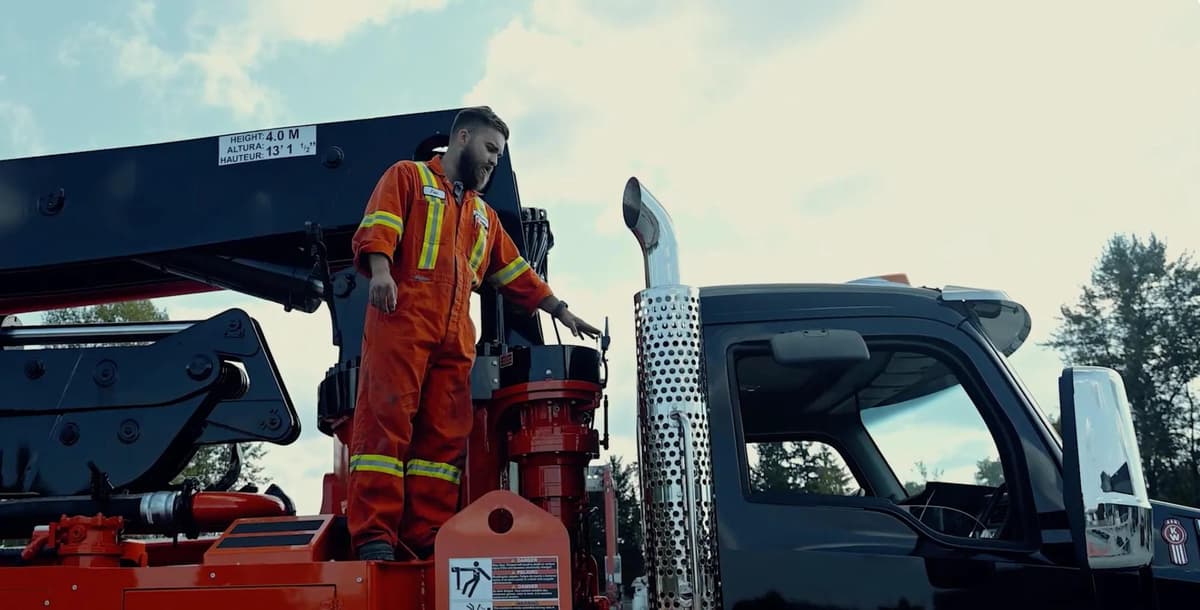
The use of your placing boom as a crane: (quoting the Safety Manual version 6.0.1) 8.16 WARNING! Do not use the boom as a hoist crane!
Now, that rule has been stated, lets get into the "why not"
- Alliance and JunJin forbid the practice. Lifting variable loads my cause damage and could void your warranty.
- There is no swivel allowing the load to be turned and no place to safely attach the cables or straps.
- The load chart required by the crane standards does not exist for placing booms.
- Concrete pump placing booms do not comply with ASME B30.22 (the standard for articulated boom cranes).
- The manuals do not document the maximum lift, where to attach rigging, how far you can extend booms carrying loads, etc. because it was never considered in the machine design.
- Overloading is inevitable. Accidents could result from somebody riding the load to keep from falling. The load not swiveling makes that accident more likely.
- Assuming you rig a choker strap over the last elbow before the swivel clamp- the elbow wears out and was never designed for sideways mechanical loading.
- The clamp is not designed for mechanical forces other than around the weld-on end of a pipe and or elbow. The clamp could fail while you are moving a suspended load, or when the pipe is next pressurized.
- The damage may appear later. A crack subjected to the forces of normal pumping suddenly fails catastrophically.
Warnings about using the boom as a crane exist in many published forms. Additionally, there should be a warning label about it on each machine. If you get a request to use your boom as a crane, show them the warning label and say "no can do".
Thanks for your time and be safe out there!
Concrete Pump Accessories - Wash Out Bags
It is becoming more and more common to use Wash Out Bags especially when pumping concrete in the city. As you all are aware, sometimes when setting up to clean out things just don't go right, then you have a big mess on your hands.
Here is a video on setting up and using a wash out bag. Wash Out Bag Video
If you have any questions about these or any other items, feel free to call or email.
Thanks for visiting!
Parts for Putzmeisters
In order to better serve our customers we have decided to add several parts for Putzmeister Pumps to our Pumps stock of inventory. So, now we have parts for both Putzmeister Big Mouth and Standard pumps. Among the items we are now stocking are: S-Tubes, Wear Plates, Cutting Rings, Thrust Rings, Front Housings, Suction Filters & Boom Filters. We also have access to a full line of OEM parts too!
For more information and a parts catalog follow this link. Parts for Putzmeister Pumps
Call or email with any questions, we are happy to help!
Thanks for you time!
Augor Motor Maintenace
Are you are looking to save a little money in the short run? Did you know you can replace the seals in your Augor Motor? You should always have on hand an Augor Motor Seal Kit, to help out in these areas (Part Number RB0400300).
Maintaining your Bearing Flange Assemblies versus replacing can save a little money at the right times as well. You can easily replace the O-Rings, Rubber Cones and Bushing.
There are many ways to save a little money here and there while still keeping your pump working. These just a few ideas. If you have any time or money saving maintenace tips fee free email them to us and we will share them online!
Hydraulic System Issues
There are three ways to prevent water from getting into your hydraulic system:
- Make sure you do not overfill the water box. The water level in the waterbox should cover the bottom ofthe rods. This will still enable the hydraulic cylinders to cool but will prevent water seeping through the chevron packing.
- Drain the water from the bottom of the hydraulic tanks weekly.
- Filter the hydraulic oil through a filter cart monthly.
There are several reasons why it is detrimental to have water in your hydraulic oil:
- Clogs filters
- Forms corrosive by products that deplete additives.
-Reduces lubrication strength, which can leave critical parts vulnerable to wear.
-Increases the likelihood of hydraulic pump cavitation.
Accumulator bottles and bladders
There is no time like the present to check the accumulator bottle to make sure it is properly charged.
The accumulator bladder is one of the hardest working parts on a concrete pump. Therefore, it is critical that the nitrogen pressure is properly maintained the required 90 bar setting. This will prevent premature wear on the bladder and it will also prevent a lazy S-Tube shift which can cause a difficulty in pumping.
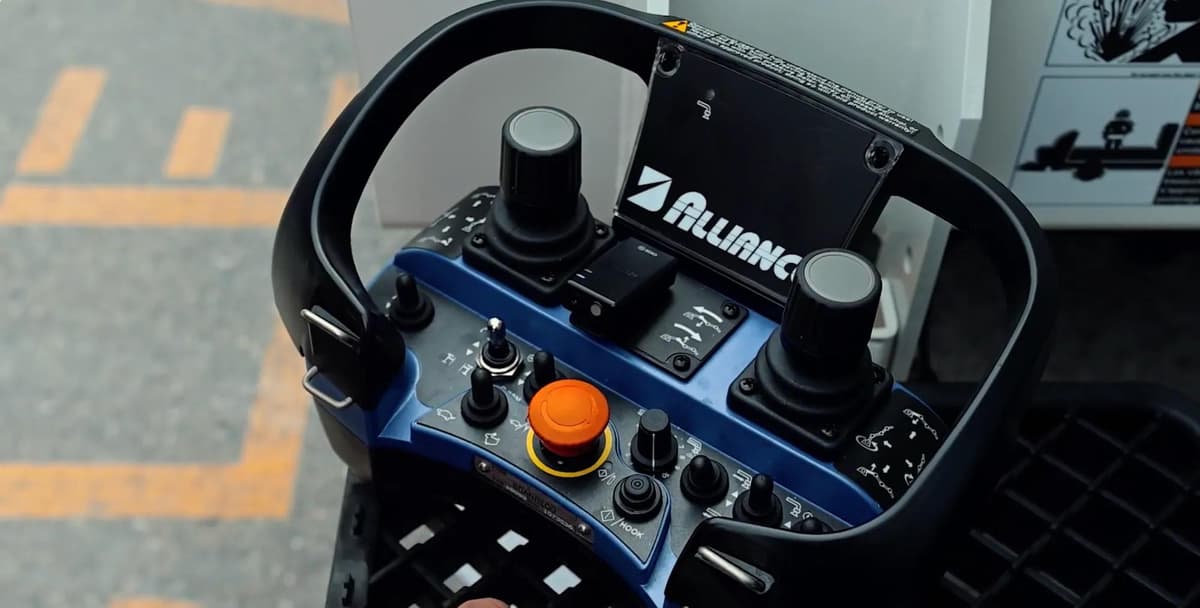
One of the easiest ways to check for proper pressure is by putting the concrete pump into PTO, as if you are going to pump concrete. Then, locate the accumulator gauge on the pump and make sure it is reading at 190 bar; then press the E -Stop on the remote box. The pressure reading on the gauge should slowly fall to 90 bar reading. Then continue swiftly dropping to 0. This indicates that the charge pressure in the bladder is set properly. If it is below 90 bar, then it needs to be charged.
Please feel free to contact the Alliance Service Department if you have any questions regarding this or any other parts related issues. Thanks for stopping by!
A little about S- Tubes
It is important to save money where you can in business. We would like to talk to you about how to stretch your dollar by extending the life of your S- Tube. Dry stroking the concrete pump when there is no concrete in the hopper can cause premature wear on the spline shaft of the S-Tube. Slowing your volume down and placing the concrete pump into a soft shift will help to prevent spline damage. Also, keeping the two bolts going through the yoke tight will help to extent the life of your S- Tube.
Thanks for your time and feel free to call or email if you have any questions!
Ask an Expert
We’re here to answer any questions you may have regarding the operation of your pump.